Current Page: Photo Graphic Apps - Super Photocut For Mac - Tutorials - How to save cut out object?
Current Page: Photo Graphic Apps - Super Photocut For Mac - Tutorials - How to save cut out object?
Step 1. Double click to open Super PhotoCut in Applications or Launchpad or on desktop.
Step 2. Locate the image that you want to open, directly drag and drop it to the left.

Step 3. Use Target Object to surround the portion that you want to cut out.
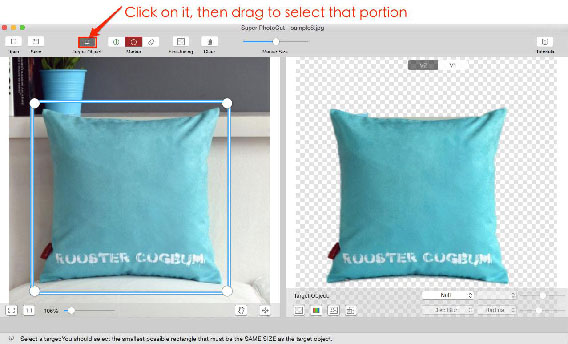
Please note:
1. Include every pixel that you want to retain in the rectangle box.
2. Make a rectangle selection as small as the cutout shape to get a more accurate result.
Step 4. Use the green tool to mark part of the foreground.
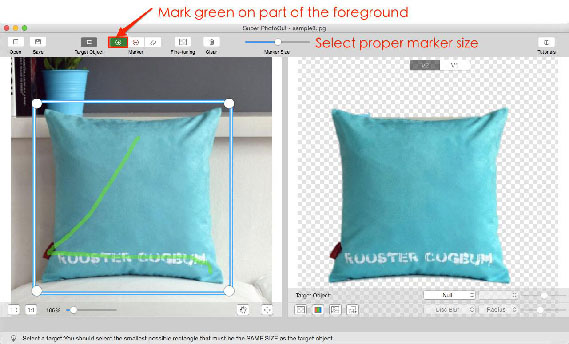
Please note:
1. You do not have to carefully select the areas, just make sure that the green marker touches any colors that you want to keep.
2. Make sure you stay within the lines of the object you want to cut out.
Step 5. Use the red tool to mark part of the background.
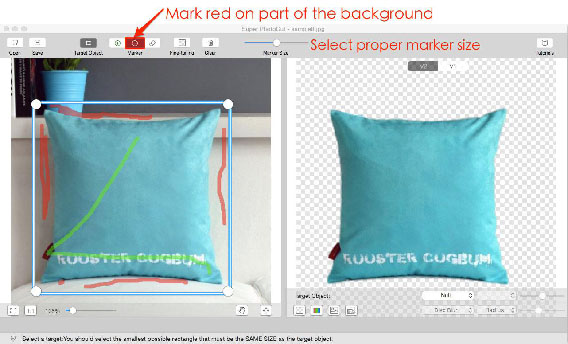
Please note:
1. You do not have to carefully select the areas, just make sure that the red marker touches any colors that you want to become transparent.
2. Do not mark red on the foreground.
Step 6. Save you result.

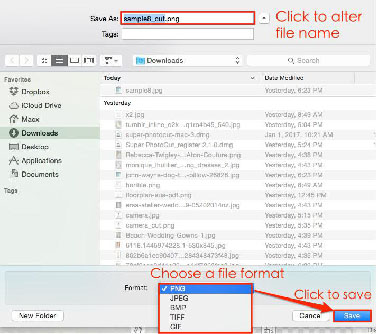
Tips.
1. Directly copy the result to clipboard by pressing Command and C for instant use.
2. Only PNG retain transparency. Or it will use white color as the background.
3. The result will not replace your original one and will automatically postfix “_cut” to the file name by default.
 |
 |
 |
| Super PhotoCut Pro Mac Removing Image Background from Transparent Objects ( veil, glass, water, fire... ) |
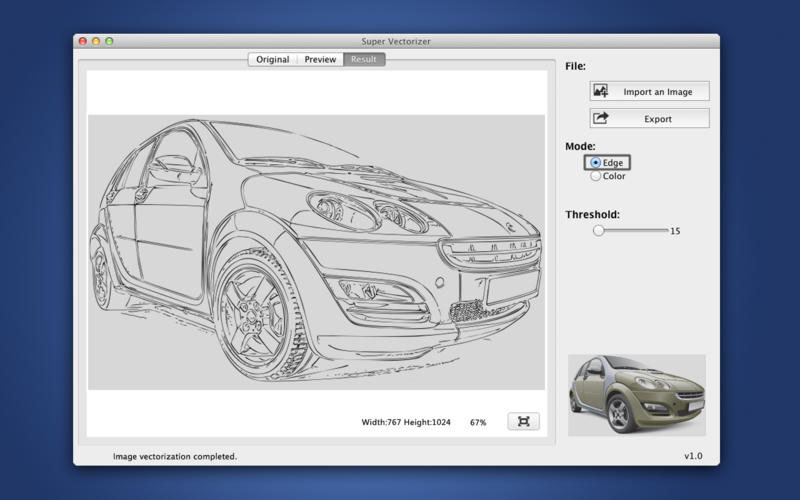
Super Vectorizer Mac Auto Trace Images of color and Grayscale, Black-and-white, Skeletonization, Line |
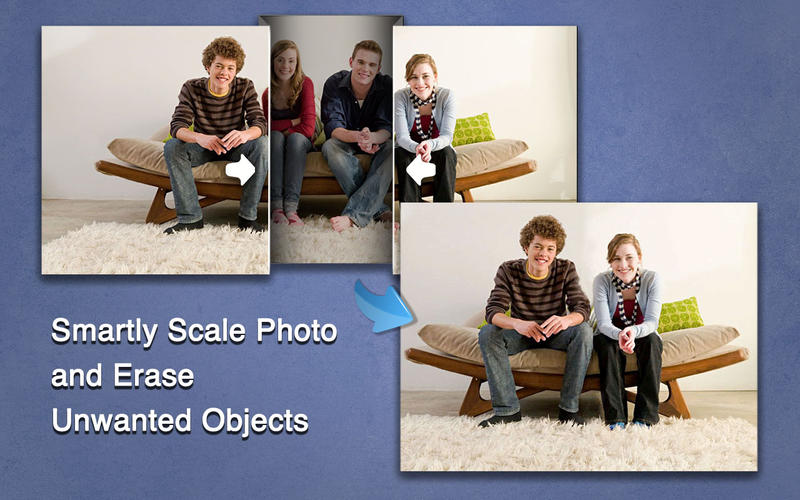
Photo Eraser Pro Mac Removes Unwanted (Watermark, Date, People...) from Photo and Scales an Image |
| Free Download. Full Features | Free Download. Full Features | Free Download. Full Features |


