Install
IIS MySQL and PHP on Windows XP and Server
This is a guide on Install IIS MySQL and PHP on Windows
XP.
Install IIS
If IIS (Internet Information Services) is already
installed, you can move on to the next page. Before we
continue, make sure you have your Windows CD available.
You will need it to install IIS.
1. First you need to open up your control panel,
and select Add or Remove Programs.
2. Look on the left pane and click the button labelled
Add/Remove Windows Components.
3. You should now see the Windows Components Wizard
which displays a list of Windows Components. Scroll down
till you see the one labeled Internet Information
Services and Check the Box next to it.
4. Click Next.
5. Insert the Windows CD when the system asks for it,
and then it should complete installing IIS.
6. Click Finish
Don't worry about testing your web server just yet. Some
permissions need to be set before you get the results
you expect.
Download and Install MySQL
If you already have MySQL installed, you can continue to
the next step.
If you are installing over a previous version of MySQL,
I'd recommend backing up your database and un-installing
MySQL Server.
Installing MySQL is fairly straight forward.
First you should download the latest stable release of
MySQL. The Windows Essentials version is what I would
recommend if you don't already have a preference. This
version contains an installer that both installs and
configures your MySQL server.
http://dev.mysql.com/downloads/
Below are the steps as they flow in the current MySQL
5.1 Windows Essensials installer. Don't feel like
you have to follow these steps exactly if there are
options that would be better for you. Use this as a
general guide.
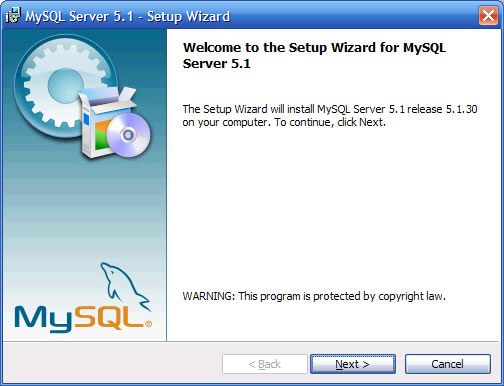
1. Launch the installer, click Next >.
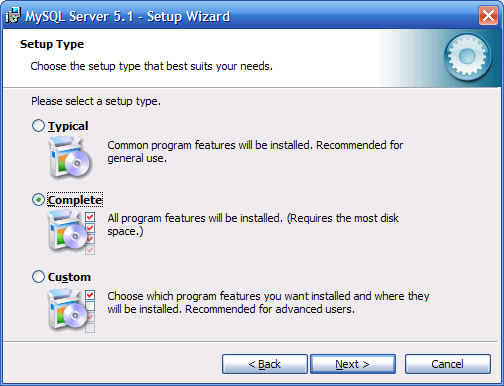
2. Choose the Complete option, click Next >.
3. Click Install.

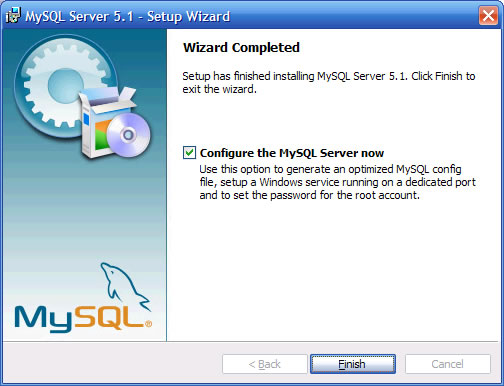
4. Installation has been complete and now it's time to
configure your server. Check the configure box and click
Finish.
5. click Next >.
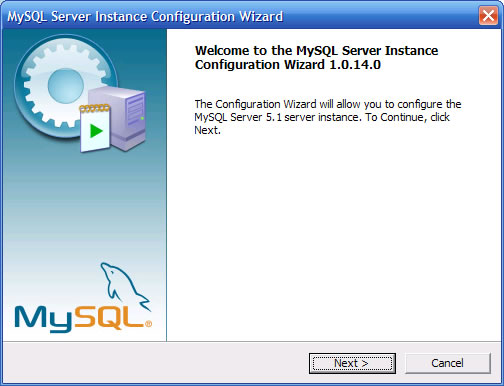
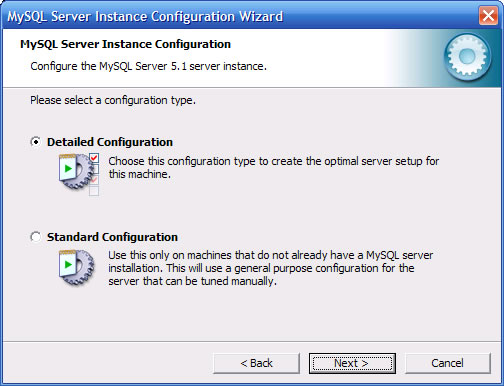
6. Select Detailed Configuration and click Next >.
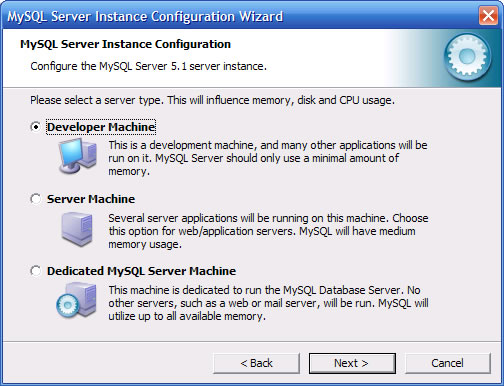
7. At this point, you can select what type of server
best represents your system, but since I am aiming this
article towards a development environment, I will select
Developer Machine. Click Next >.
8. Select Multifunctional Database. Click Next >.

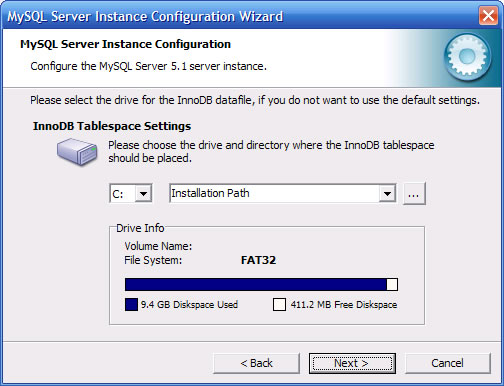
9. This is where you can select the drive for the InnoDB
data file. Again, since this is a development
environment we should be OK with the default install
path. Click Next.
10. You can choose the number of connections you would
like to restrict your server to. The first option,
Decision Support, is recommended for 20 concurrent
connections. Click Next.

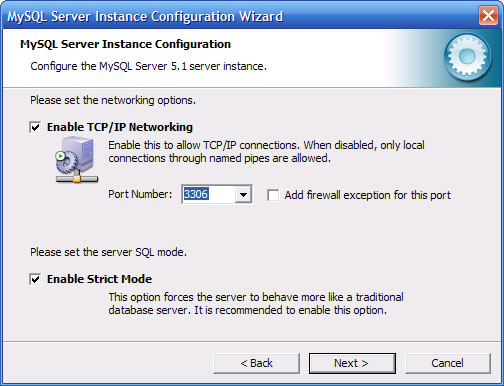
11. You can set the port number your TCP/IP Network will
use, the default option should be OK.
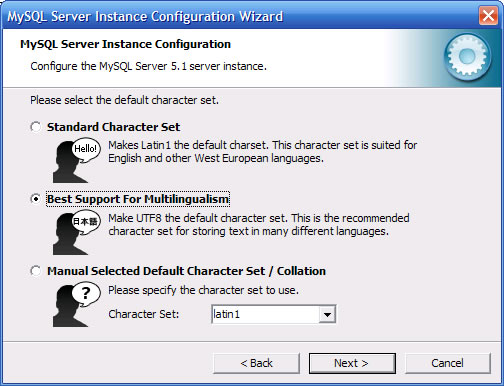
12. By default, the standard character set will be
selected. I recommend checking Multilingual Support
which will make the UTF8 character set the default. This
will ensure that most multi-byte characters, such as
those from Japanese and Chinese character sets, will
store properly in the database. Click Next.
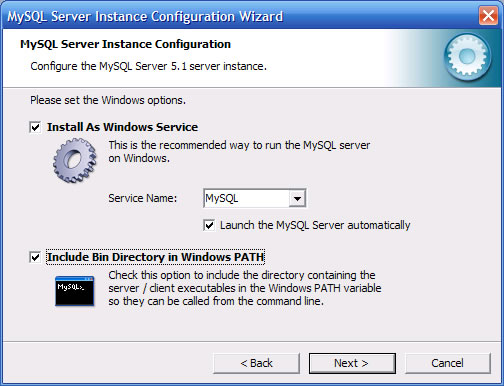
13. Install MySQL as a service and check or un-check the
box to launch the service automatically based on your
preference. I'd recommend checking the box to add the
Bin directory to your Windows Path as it will be easier
if you ever want to access MySQL binaries from the
command line. Click Next.
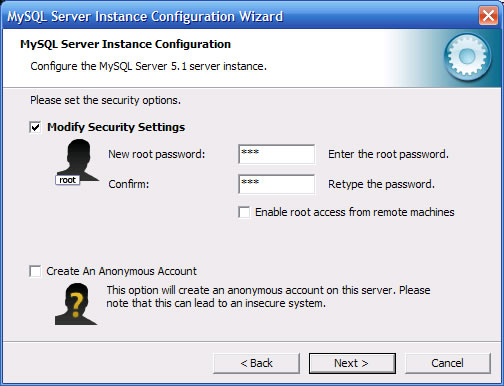
14. Set the cecurity options. You only need to type and
confirm the new root password when it's the first time
you configure MySQL.
15. Now all there is left to do is Click Execute.
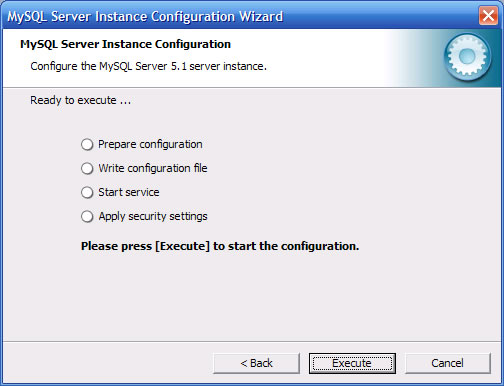
The configuration should finish up and MySQL should now
be up and running on your system.
Install PHP
1. Get the latest php from
PHP.net's
download page. Download the zip packager rather than
the installer.
2. Extract the zip file to c:\php
3. Copy php.ini-recommended file to php.ini
4. Edit the c:\php\php.ini file
-
Set the upload_tmp_dir
to a temporary directory on your server, you could
create a special on for this (e.g. C:\php\upload)
-
Set the SMTP setting
to the ip of your smtp server. It won't work with
authentication so make sure you can send from your
web server through that smtp server without a
user/pass
-
Set the sendmail_from
to the email you want all emails from the server to
come from
-
Set the
upload_max_filesize setting to something a little
large (if necessary). Default is 2M. I think 200M is
ok.
-
Set your extension_dir
= "C:\php\ext"
-
Set post_max_size to
at least the size of your upload_max_filesize (+ a
little bit more). Default is 8M. 210M should
probably be ok if you increased the
upload_max_filesize to 200M.
-
Uncomment (by removing
the ; at the start of the line)"cgi.force_redirect"
and change the value to 0 instead of 1
-
Uncomment (by removing
the ; at the start of the line)
"extension=php_gd2.dll" ,
"extension=php_mbstring.dll" , "
extension=php_mysql.dll" ,
"extension=php_mysqli.dll" , "
extension=php_sockets.dll"
and "error_reporting =
E_ALL & ~E_NOTICE"
Setting up
IIS and file/directory permissions
1. Open your Control Panel -> Administrative Tools ->
Internet Information Services (IIS)
2. Now open the IIS management console by typing Start
->Control Panel -> Administrative Tools -> Internet
Information Services (IIS), Right Click on Default Web
Site and Select Properties.
-
Find out what user we
need to give write access to by Edit the properties.
-
On the directory
security tab, click the edit button under anonymous
access and authentication control
-
Copy down the user
name under the anonymous access section (it is
allowed right ?). It's usually
COMPUTER\IUSR_COMPUTER where COMPUTER is the name of
the computer running IIS
-
Now right click on the
C:\php\upload directory and go to properties, click
the security tab, click add and in the box type in
the name you copied down before.
-
Click check names and
it should underline the name, then click ok.
-
Click modify and it
should check all the other necessary boxes for you.
-
Click ok
-
If there is no
security tab, then in windows explorer
-
Go to the Tools
menu, choose 'Folder Options'.
-
Choose the 'View'
tab and find the option called 'Use simple file
sharing' (usually the last one) and untick it.
-
Click apply, then
ok.
-
Go back to the
previous step
-
Repeat this for any
other directories which need to be writeable by your
php application.
-
Now go back to the IIS
management console, right click on the website you
want to setup php for and go to properties.
-
Click the documents
tab and click add and type in index.php and click
ok. This tells the webserver to look for index.php
files for a default file.
-
Now, still in the iis
management console, click the home directory tab,
click on the configuration button and then click
add.
-
Browse to the
c:\php\php-cgi.exe file for the executable and .php
for the extension. We want it for All Verbs which is
checked by default, check script engine and uncheck
"Check that file exists" then click ok.
-
Then click ok until
all the dialogs are closed and restart your website
in the iis control panel by clicking the restart
button in the toolbar or by right click and choosing
restart from the tasks menu.
To learn more about
Security configuration of IIS, please refer to
IIS security recommendations.
Now create a file in your web root called info.php and
put in it then browse to that file in your web browser
via it's url. It should bring up a phpinfo page which
will let you check that mysql is enabled etc.
|